Do your timber floors need to be restored? Do it yourself to save hundreds of money. You may be like many who are planning to renovate their homes. Some people worry about making a mistake or causing damage to the wood. It is possible to easily refurbish your own floor with the right preparation and supplies from your local discount flooring material supplier. In three simple steps, we’ll show how you can do it.
Step 1: Prepare the room
Although it may seem easy, many people fail to realize the importance of this step. You’ll not only ensure a lasting finish but you will also avoid any issues that could put your family at risk. Here is a list of things you should do:
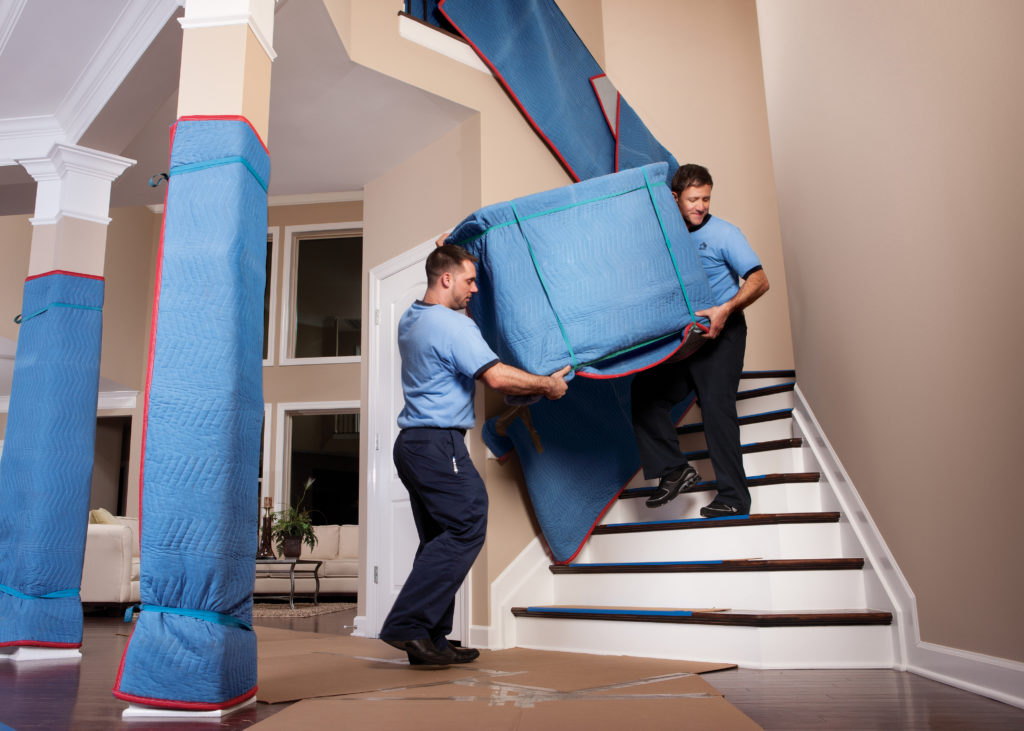
All furniture should be moved out of the room. Cover any furniture that isn’t easily moved or built-in with a sheet to protect it from the sanding process.
Take out the carpet. You can also use a utility knife to remove the carpet. Vinyl tiles and sheets can also be cut in the same way. Asbestos may be present in tiles that are older. These tiles should be removed from the floor by a professional.
You should check for any protruding nails or loose boards. The sander can be damaged by loose nails. You should ensure that they are hammered at a minimum of 3-4 mm below surface.
Turn off the ventilation and seal all grills and ducts with plastic tape. Place sheets on power outlets, vents, wall hangings and other electrical components. Sanding can cause fine particles to get into appliances and gaps. Your fan shouldn’t blow dust into the air as you turn it on.
Cover the surfaces of your kitchen floor when sanding it.
Tape the doors to stop dust getting into other rooms. You can remove the hinge from the door to achieve a cleaner finish.
Vacuum your floor and then open all windows and doors.
Wear safety glasses, dust masks, and earmuffs.
Step 2: Sand the floor
Two types of machines are needed to sand timber floors: the drum and hand edge sanders. The drum sander can be used to sand the floor; the hand edge sander can be used for corners and baseboards.
Sandpaper with the correct grit is also required. This will determine how fine or coarse the sand. The finer the paper, the higher the grit number. For example, 24-grit can be coarse while 1000grit can be very fine. Begin with coarse sandpaper. Next, use medium and then finish with fine.
For new floors, you don’t need to sand with coarse grit. Instead, use medium grit. You should keep in mind that worn or older floors may have different requirements. The most common sequence for timber floors would be 40-60-100.
The Coarse sand
Use the coarse grit paper to sand the room diagonally from one corner. This should be repeated at least three more times. Finish the floor at 45 degrees from the floorboards. Use the same grit hand edge sander to sand corners. Wrapping sandpaper around a scrubber is a good way to tackle difficult corners and baseboards. Between stages, vacuum the area.
The Medium Sand
The scratches left by coarse sand are removed with the medium sand. Instead of working in a diagonal fashion, sand along all the length of your floorboards.
The Final Sand
This stage ensures smoothness on your floor. Fill all holes with water-based glue before you start. Once the putty has dried, you can use the fine sandpaper to finish the job. Continue sanding until the final product is perfect.
Step 3: Finish the floor
There are two types of floor finishes available: oil-based or water-based. A water-based polyurethane varnish is the most popular. It has a lower odor and cures faster. You can choose from gloss, matte, or semi-matte versions.
Follow the manufacturer’s instructions to mix the finish. To prevent bubbles, apply the varnish to the floor of timber using a brush. The recommended room temperature is between 12-25 degrees Celsius. You should brush from one corner to another, taking care not to get into corners.
Allow the varnish to dry before applying a second coat. After you are done, allow the floor to dry for 2-3 days.
Hardwood floors offer many benefits. As you can see, sanding and polishing floorboards your floors yourself can bring new life to old floorboards. It will not only impress your friends but it will also make them feel like you have a professional floor specialist on their speed dial.


